The magic that is the ESP8266
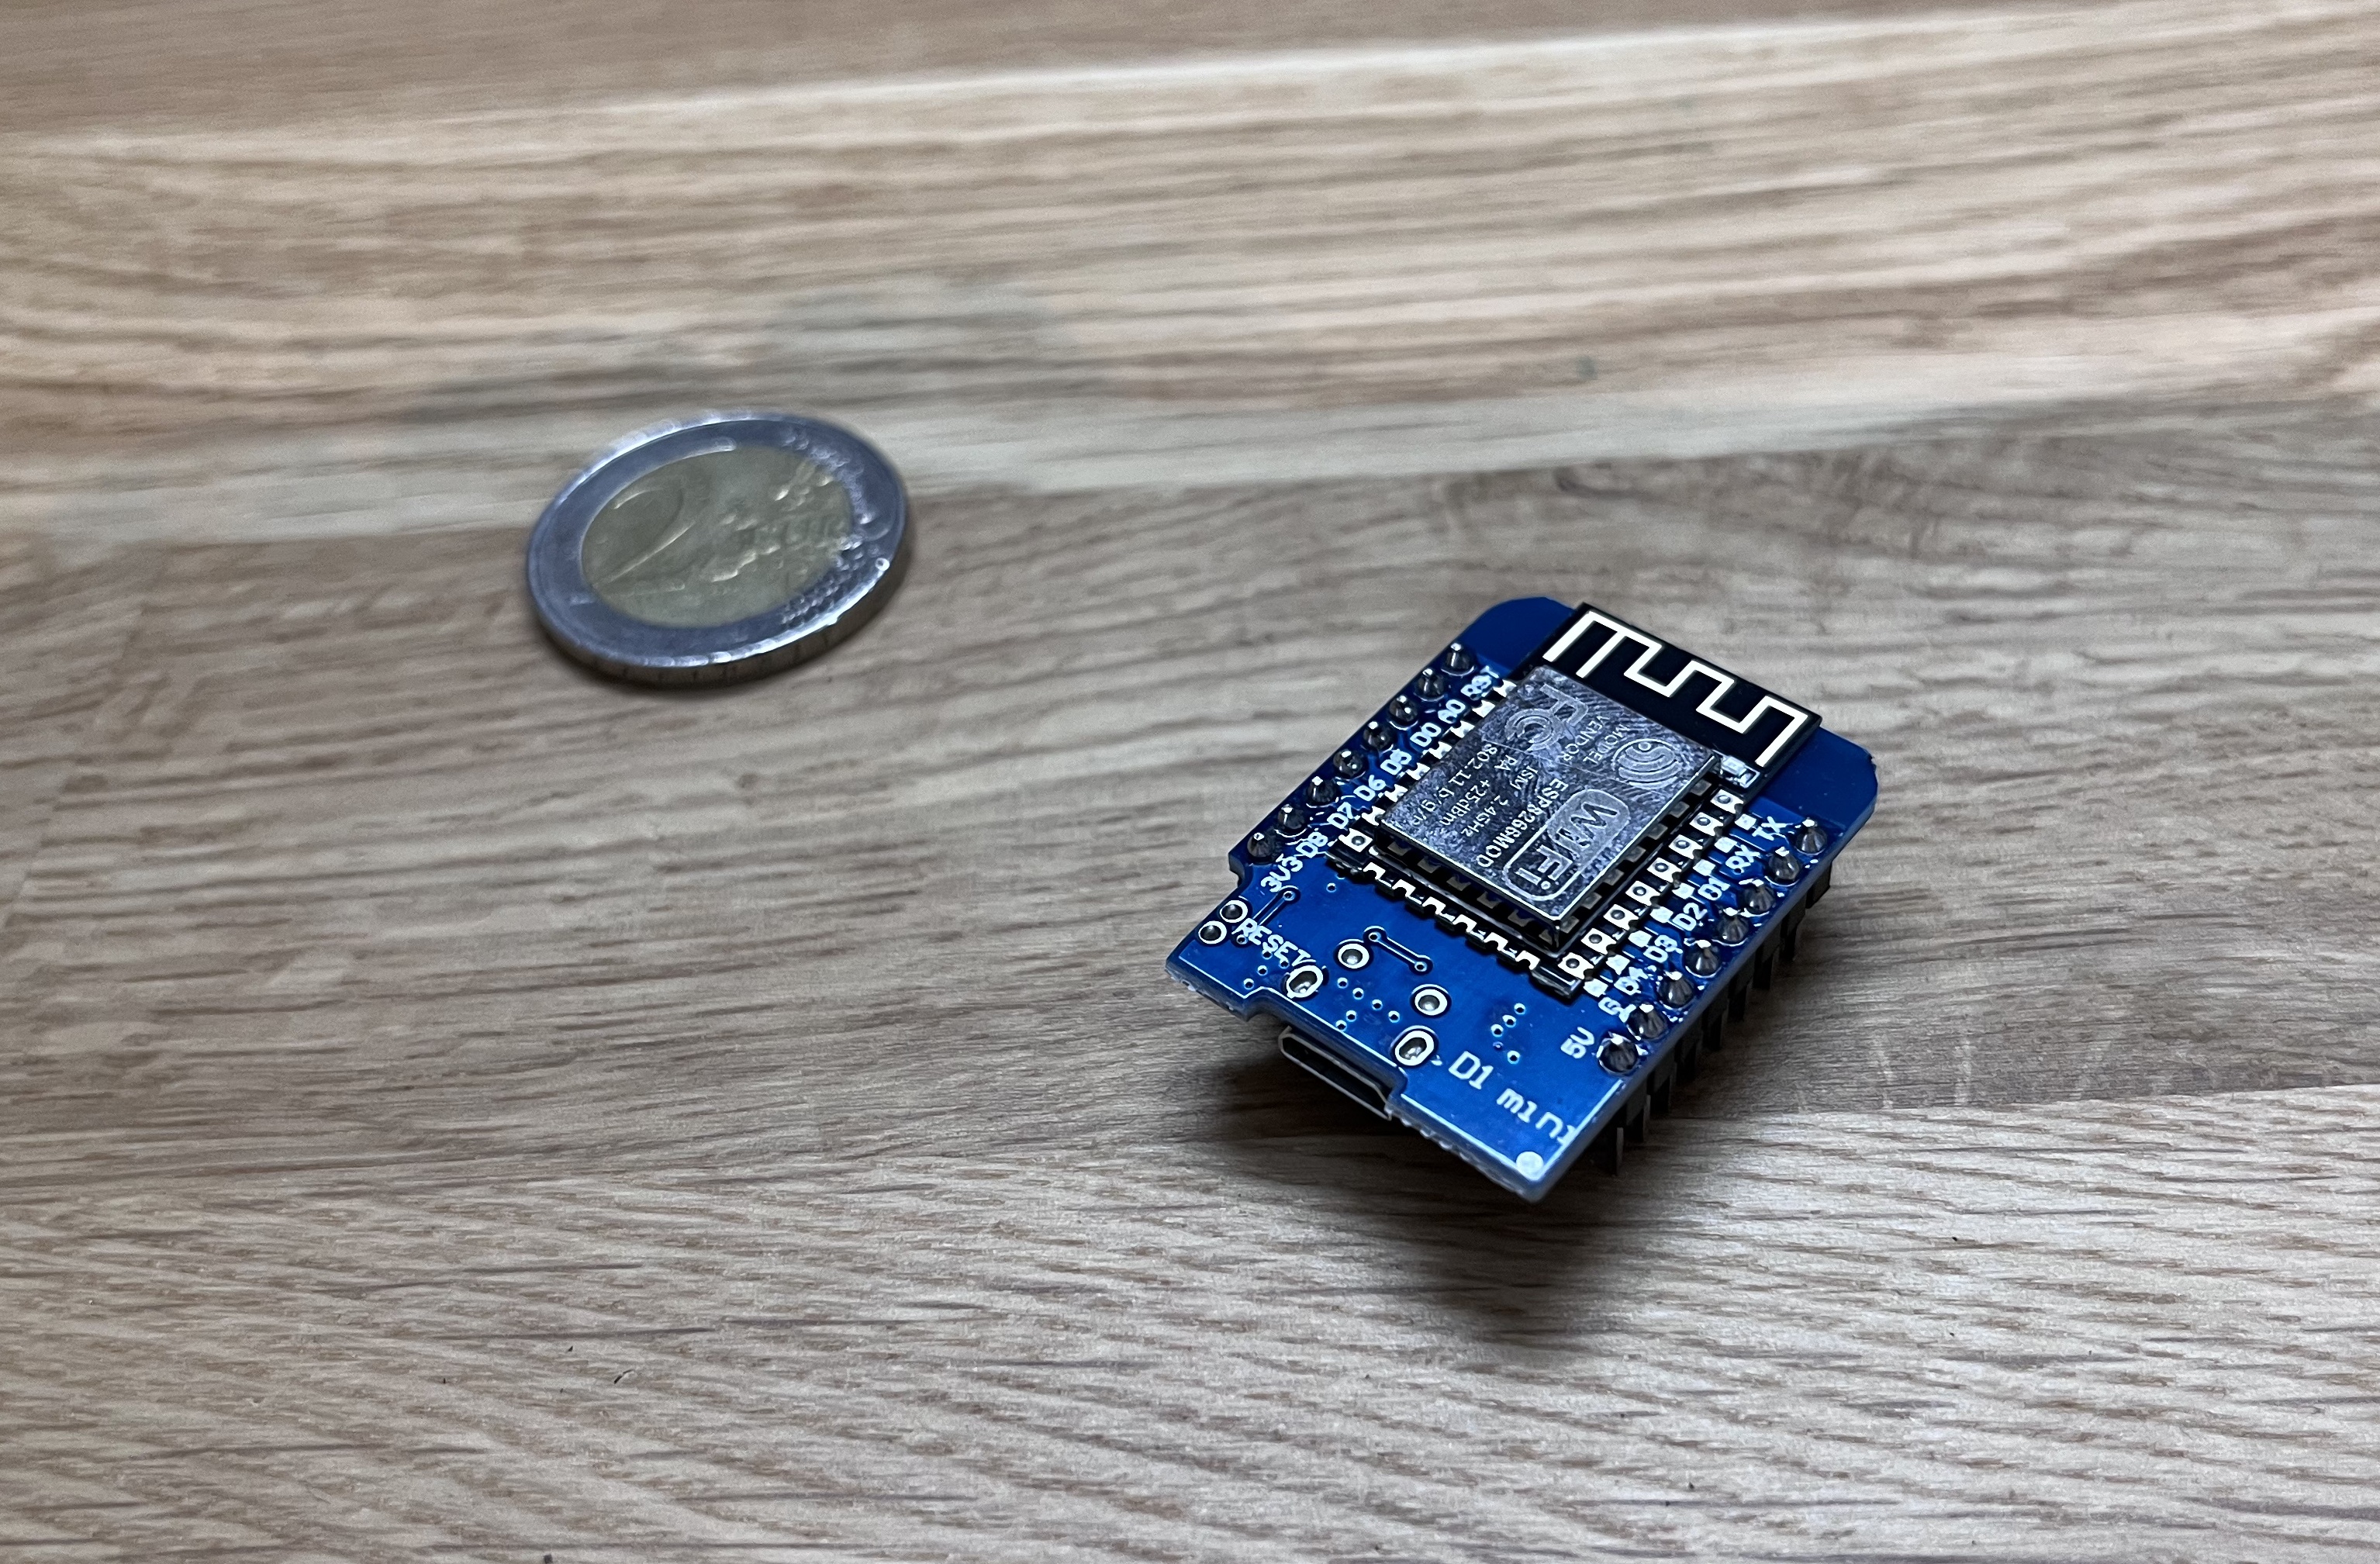
The title is a lie. Actually, I'll want you to be all excited about the D1 Mini NodeMCU – an all in one Microcontroller Combo that sports the ESP8266-12F, 4MB of Flash and a Micro USB port for easy flashing and power supply.
And it's Arduino compatible. And around 2-4€ per piece, lower on AliExpress, higher on Amazon.
What that means? You can get a workhorse that has your usual suspects when it comes to connectivity – UART, I2C, USB, but also a full WiFi Stack, OTA Updates and a bunch of other stuff, for less than a few Euros. It's a steal.

Now, there's a one thing to note before you're getting started. You'll need to solder on the headers before you can meaningfully get started. That's simple, just put them on a breadboard, stick the board on top and solder the pin headers on – but it just needs to be done.
Afterwards, I recommend going straight to PlatformIO, a very comprehensive development platform for all sorts of Microcontrollers that integrates into VS Code.
Now, the possibilities are, of course, endless. To get you started here's some of my favorite libraries that unlock quite some functionalities - and make complicated things very easy.
Probably the one you'll want to use for sure – it's a very comprehensive implementation of a Web Server that runs on that tiny thingy. It also comes with a very well documented and easy to understand API. This is how a simple setup looks that doesn't connect your ESP8266 to anything – but it prints a very lovely pong message once you try to get the '/ping' URL.
#import <ESPAsyncWebServer.h>

AsyncWebServer server(80);

void setup()
{
  server.on("/ping", HTTP_GET, [] (AsyncWebServerRequest *request) {
        request->send(200, "text/plain", "PONG");
  }

  server.begin();
}
2. Preferences
Very subtle name, but definititely one of those tools that you don't want to miss once you know they exist. Simple Preference API, invokable like this:
#include <Preferences.h>
Preferences prefs;

void setup() {
  Serial.begin(115200);
  prefs.begin("my-app");

  int counter = prefs.getInt("counter", 1); // default to 1
  Serial.print("Reboot count: ");
  Serial.println(counter);
  counter++;
  prefs.putInt("counter", counter);
}

void loop() {}
You can probably get by without it, but it saves you quite some fiddling with the EEPROM abstractions that are also available.
3. ArduinoJson
Not a big surprise, this one lets you serialise and deserialise JSON. It also sports a very readable and easy-to-work-with API (I sense a pattern here), thus a must-have if you're generating or consuming JSON.
char json[] = "{\"sensor\":\"gps\",\"time\":1351824120,\"data\":[48.756080,2.302038]}";

DynamicJsonDocument doc(1024);
deserializeJson(doc, json);

const char* sensor = doc["sensor"];
long time          = doc["time"];
double latitude    = doc["data"][0];
double longitude   = doc["data"][1];
4. AccelStepper
If you're working with Steppers like the 28BYJ-48, this is a great library – it basically allows you to drive your stepper not only linearly, but also with dynamic acceleration and decceleration, allowing optimum torque when ramping up speed and also just a nicer feel to your movements, depending on the application.
That's one that you probably don't really need, but I'd at least take it for a spin – the API is nice enough and I had a bit of a wow-effect using it the first time.
5. Built-In: OTA Update!
The probably coolest thing is that you can update the firmware running on the device without plugging it into your USB Port everytime – it supports OTA updates just fine.
It's three lines of code to connect to a WiFi, wait for the connection to be established and fetch a new version of the firmware from a known host. This still blows my mind every time.
WiFi.begin("ESSID", "PASSWORD");
WiFi.waitForConnectResult();
t_httpUpdate_return returnValue = ESPhttpUpdate.update(client, "http://192.168.0.44/firmware.bin");
Working with this board has been a fun journey for me – let me know if you're building something with it as well.

Comments