How it all started.

This is probably as non-technical as it gets, as I'll explain a little the story on how my journey actually started: I was fascinated by split-flap displays.
This wasn't the only thing, though. The stars were aligned – we just moved to a new place with a substantial amount of space for a workshop. Also, I just started a multi-month parental leave to have some more time with my kids. I enjoyed that time with my kids a lot, but without a job to attend to, I felt a little bored after everyone went to bed.
I went a little deeper down the rabbit hole and discovered the awesome Split Flap project by Scott Bezek. The basic premise of this project is to provide both the electronics as well as the hardware design to enable everyone to build their own displays. Cool. After some evenings reading through the documentary and also watching the video tutorials from Scott, I went to action mode and ordered some Laser-Cut MDF Panels from which the displays are assembled. They arrived a few days later (I ordered from Formulor, a Laser Cutting service from Germany that worked very nicely) and I assembled the first display, complete with stepper and hooked it up to an Arduino.
The next few nights was spent to cut 40 blank plastic cards down to the required format and put them into the carousel. And then write some letters on it. It worked.
I literally have no idea why I’m so fascinated by those displays but I guess here we are. pic.twitter.com/1BzYgb77kT
— Moritz Haarmann (@moritzhaarmann) March 12, 2023
But was I happy? No, because obviously, you want it to look nice and have a bunch of characters next to each other. So it had to somehow scale.
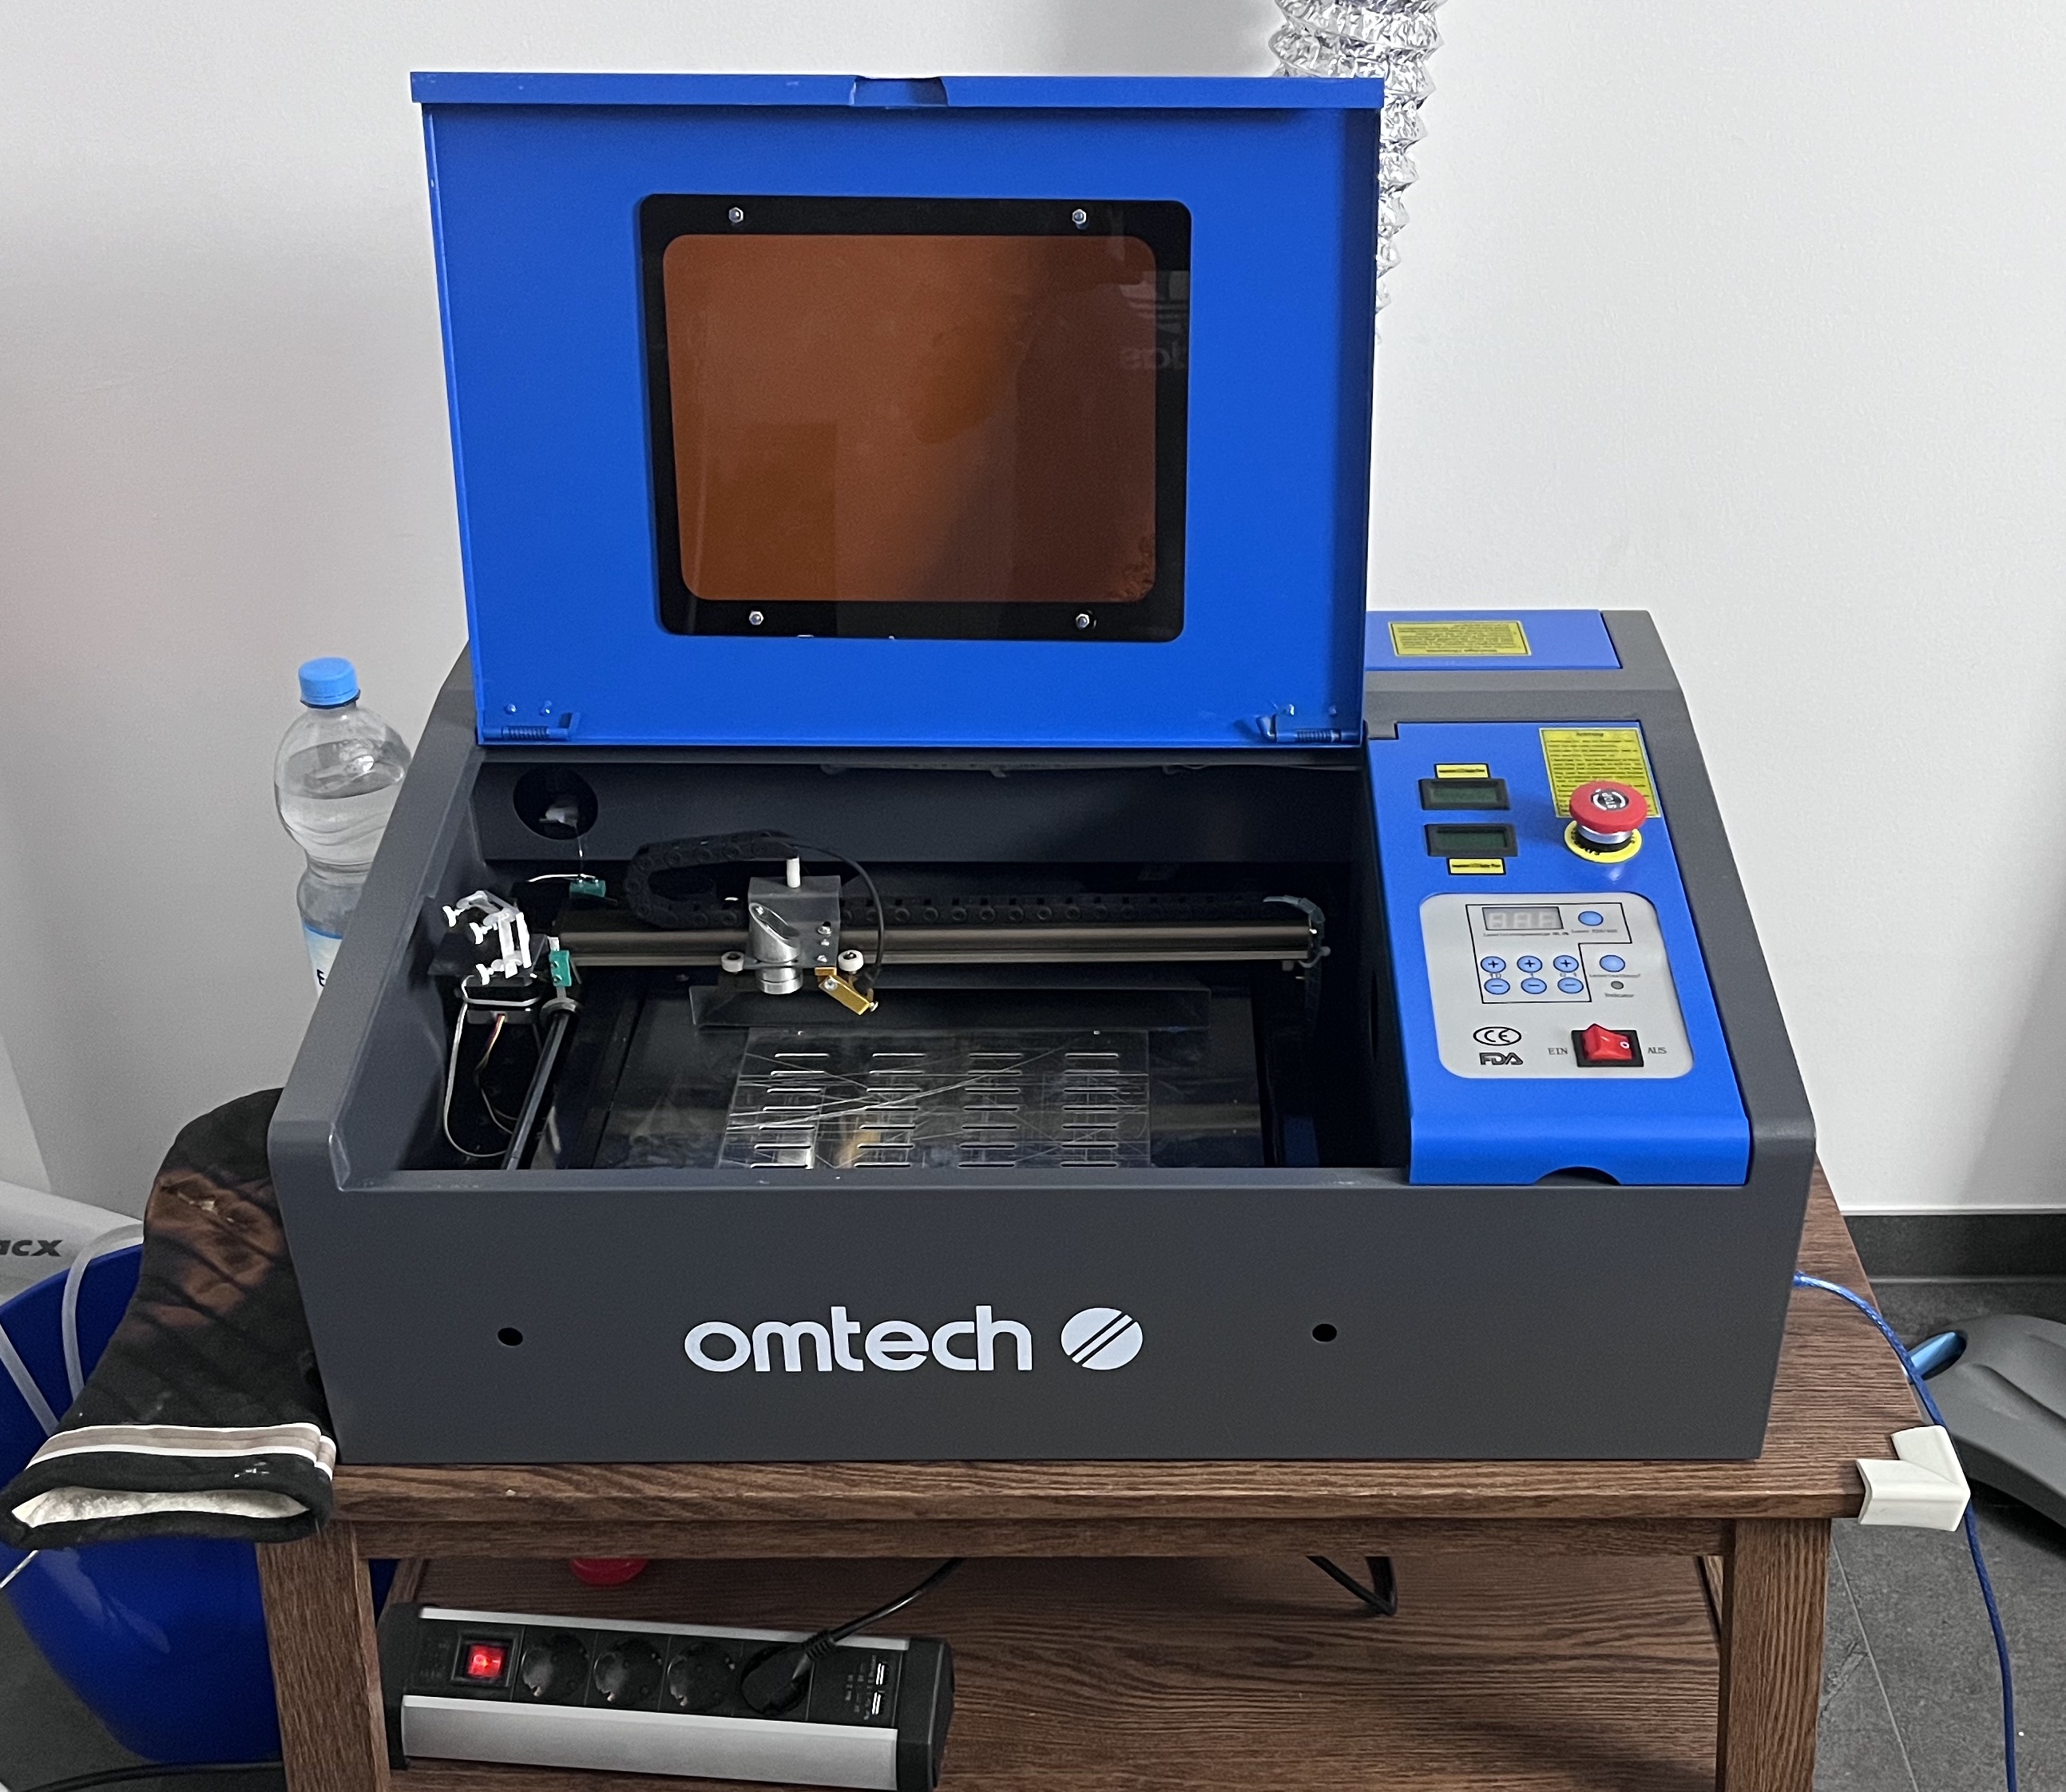
At this point, my decision making became a little too action-biased at times. That resulted in me getting a used K40-Laser to cut my own panels, so I could get to them faster – and potentially cheaper.
Hahahahahahahahahahahahahahaha. Ha. Haha.
There's good purchases I made, bad ones, and then there's the hilarious shitness of a K40 Laser Cutter. It needs to be calibrated, it needs a bucket of water for cooling next to it and it doesn't have any safety features that really deserve the name.

After trying to get that to reliably cut through some materials a few problems became obvious. The first is that, even with proper ventilation, the workshop smells like you just had a campfire in it. Second issue is that it required such a delicate setup that at this point, it already felt like the wrong thing to use. After some more weeks, I decided to put it back in the box and sell it off. Sorry, to whomever bought it – I hope you're having a better time with it than I had. In a short, laser cutting is dangerous, it stinks, it's not reliable and it only allows to manipulate in two dimensions really.
With that off the table I went for the next obvious thing - get a 3D Printer and simply design and print all of the parts necessary. Easy.
I ordered a Prusa Mini+ Kit, assembled it over the span of three evenings and – figured out that I have no idea about either 3D modelling or 3D printing. But one thing I learned in my career is that skills can be learned, so I went and started to read and watch a bazillion tutorials on the matter.
As a sidenote, there's also an excellent Project for 3D Printed Split Flap Displays, as well as a successor to it on Printables. I really think they're both great projects, but I was too hooked up on "designing my own" at this point. If there was ever a clear case of "Not Invented Here", I think that was one.
So the whole journey started again from 0. While some of the choices made by the other projects remain, like the motor and the Hall Effect sensor, I basically started from scratch. I had some design goals that were important to me:
- Small Form Factor
- Self-Contained, no driver board necessary outside of the enclosure
- Easy and cheap to assemble
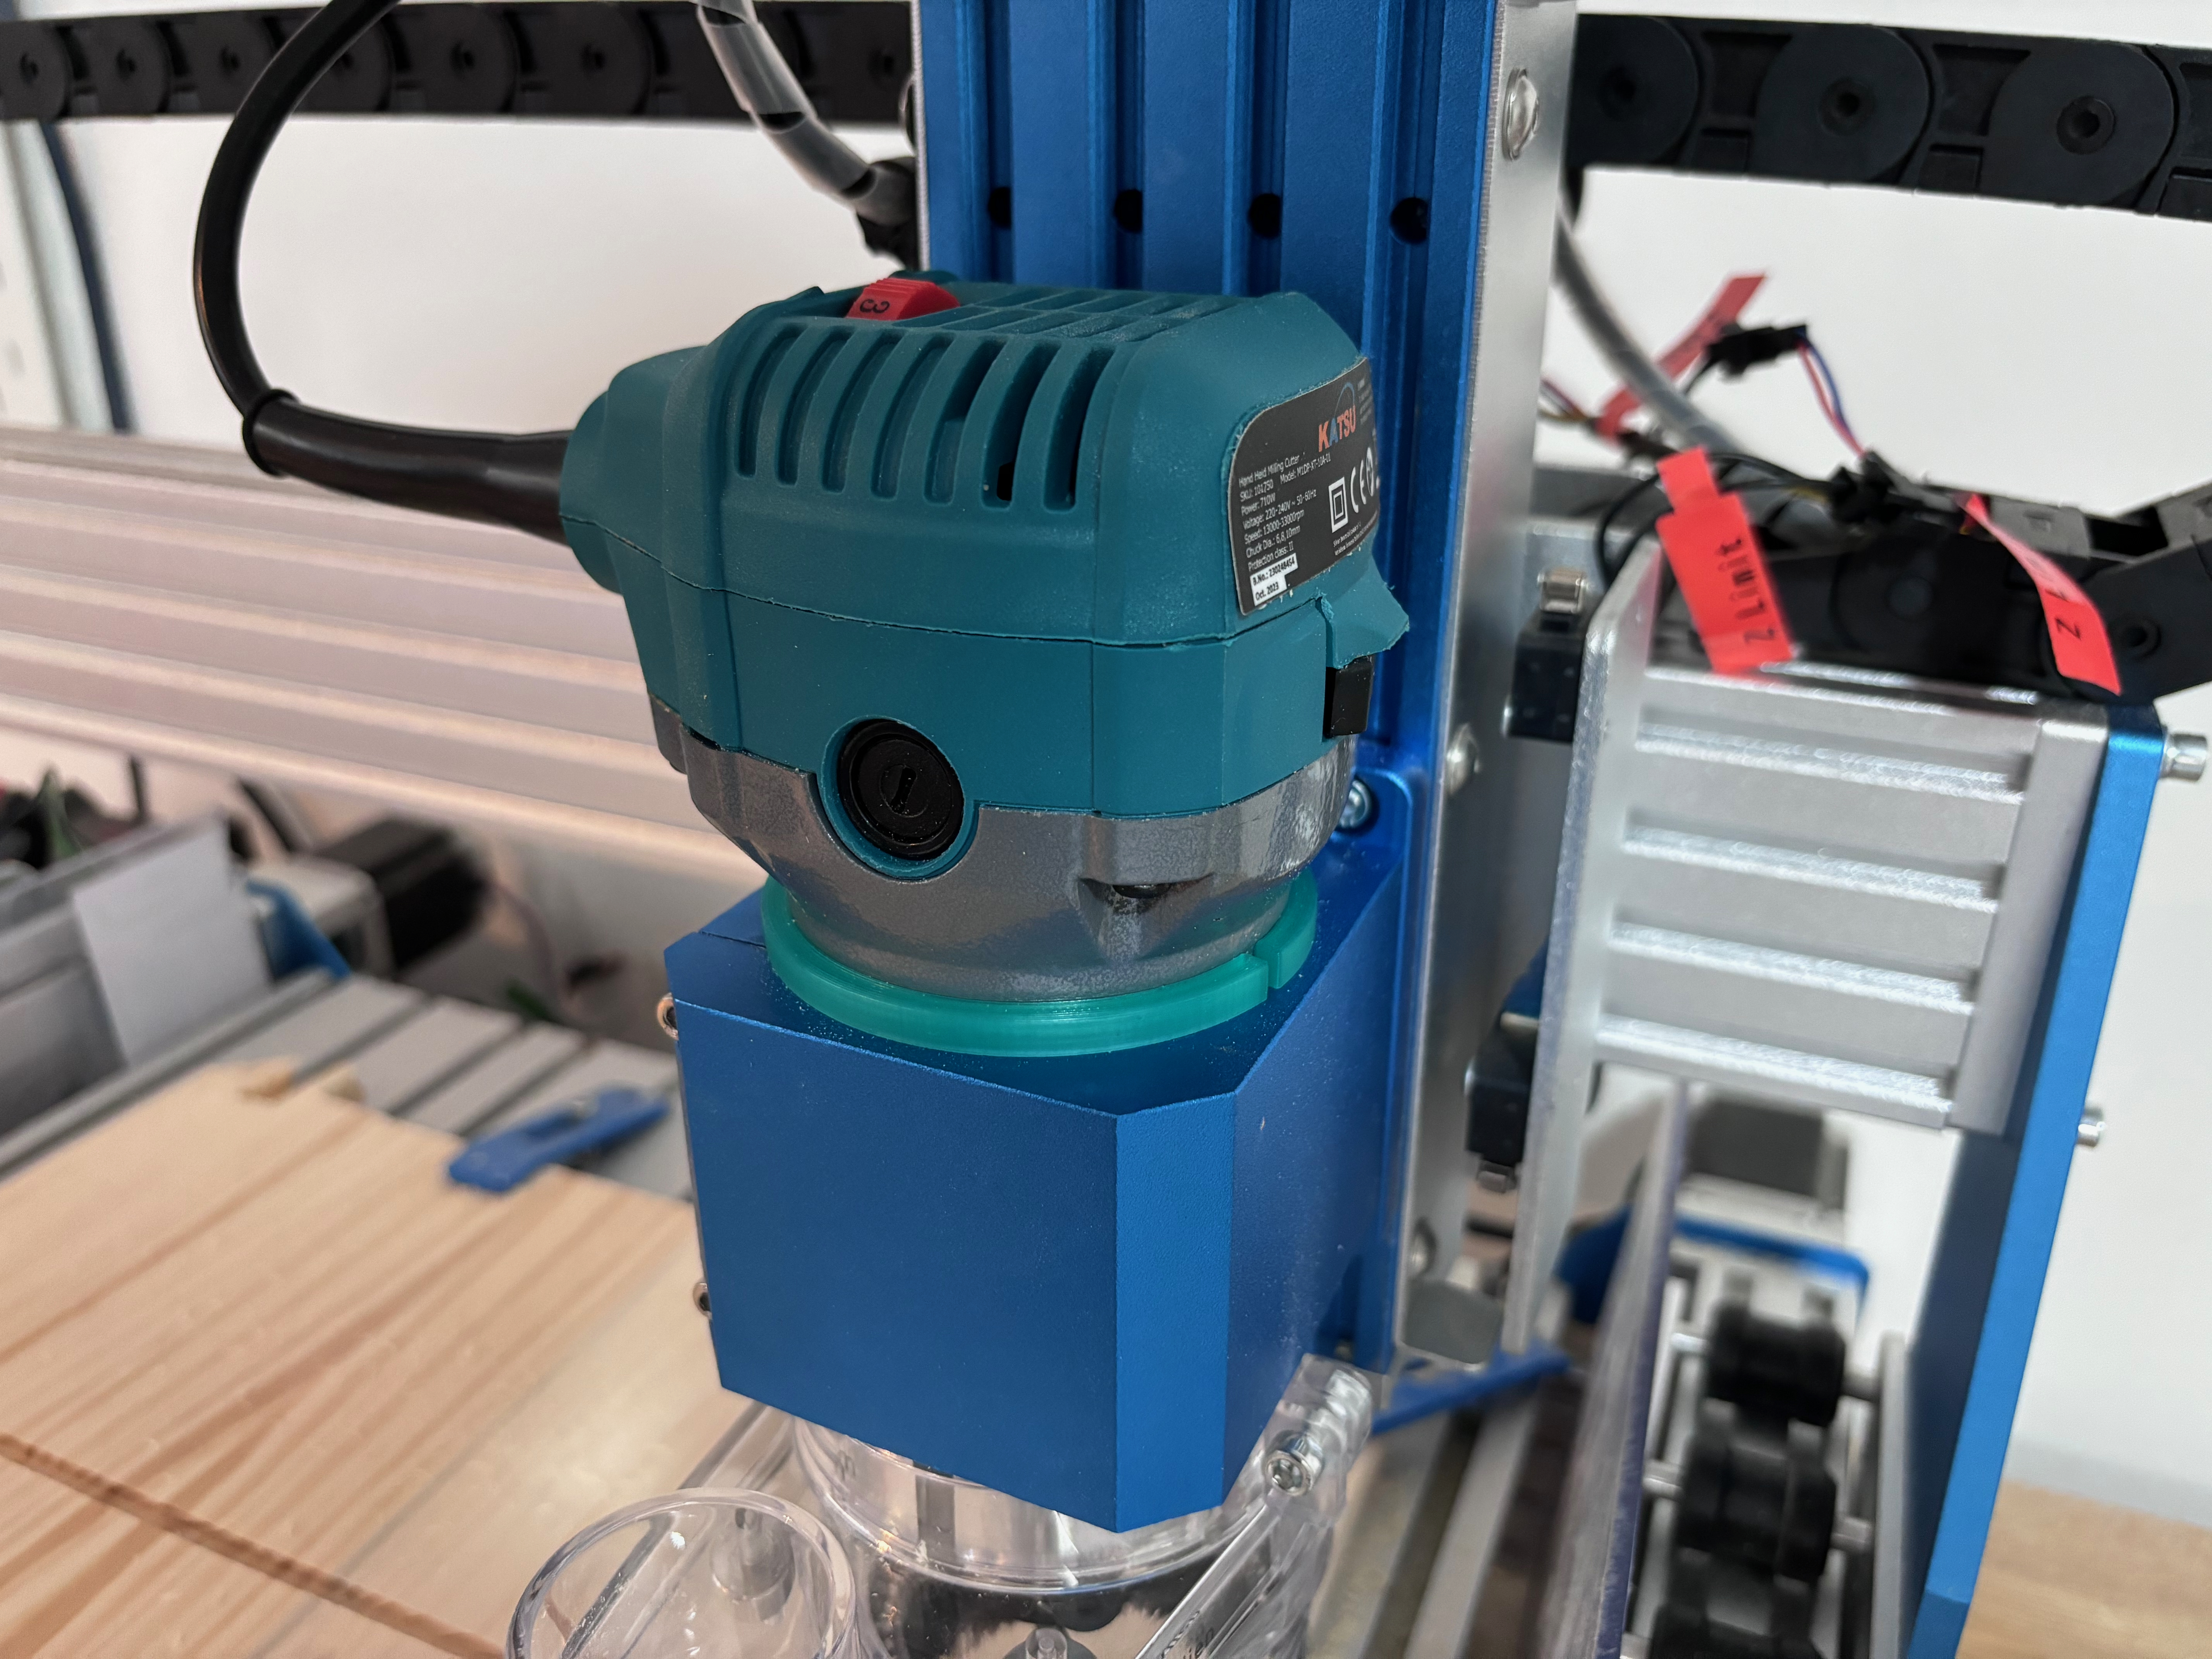
It took a solid few months to get to this point, and I learned a lot along the way. The first iterations were full enclosures that took hours to print, while it now is a very modular casing that is only partially printed – the bigger side parts are actually milled from plastic. That's cheap, fast and has a nicer finish. It also allows me to create units that are transparent on the sides, which is nice to impress relatives.
Unintuitively, one of the hardest things was not the 3D Design itself – once you figure out the paradigms of the tool you're using that's remarkably simple. It was to get the flaps printed. You want thin, reliable, non-glossy flaps with a white print on them. So no paper, only some plastics will do for the robustness. However, printing white on black can only be done at reasonable quality in screen printing – even UV Printing that is not something that a lot of print shops recommend. Then you also need to get them die cut from the material. I'll probably write about that in more detail soon.
And that's the journey. There's also custom PCBs along the way, a nice firmware that connects all of the units in a very modular and low-cost fashion. There's things that worked, and didn't work, long nights and lots of dead ends. But most importantly, there's fun in every single step of the journey, in learning, in discovering, in building.
That's how it all started.

Comments